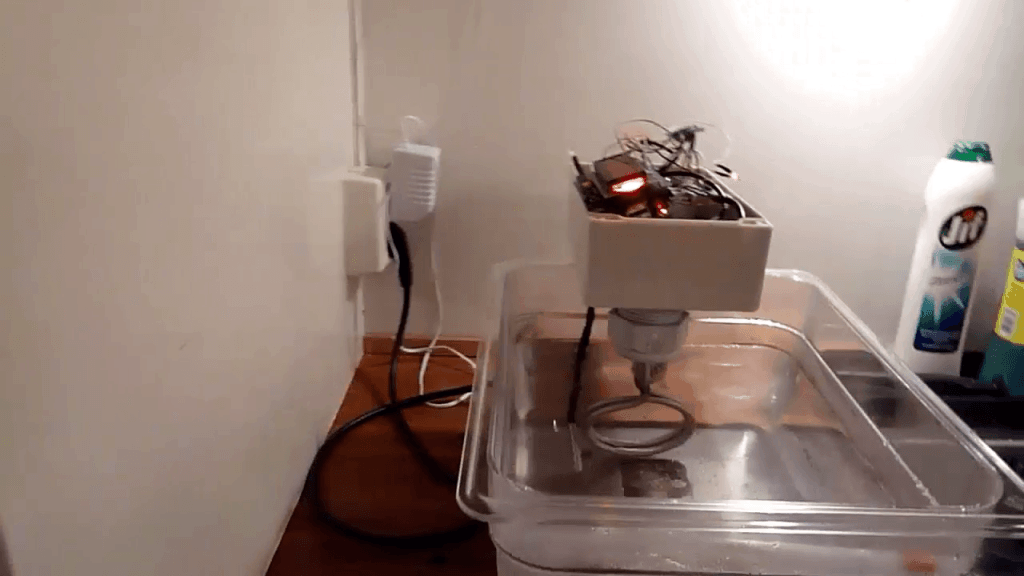
This DIY sous vide cooker was made by my friend Markus. He built it for about 1/10 of the price of the commercial cookers. And it made some really good chicken =)
A sous vide cooker is a machine for cooking food using a temperature-controlled bath.
You can take whatever you want to cook – chicken, fish, steak, etc. – and put it in a vacuum-sealed bag. Next, set the temperature on the DIY Sous Vide to the temperature you want for your food. Then put the vacuum-sealed bag into the water and let it cook slowly for a long time (several hours).
When the chicken (or whatever you are cooking) is done, fry it quickly in a frying pan with high temperature to get a crispy finish.
Parts Used For the DIY Sous Vide
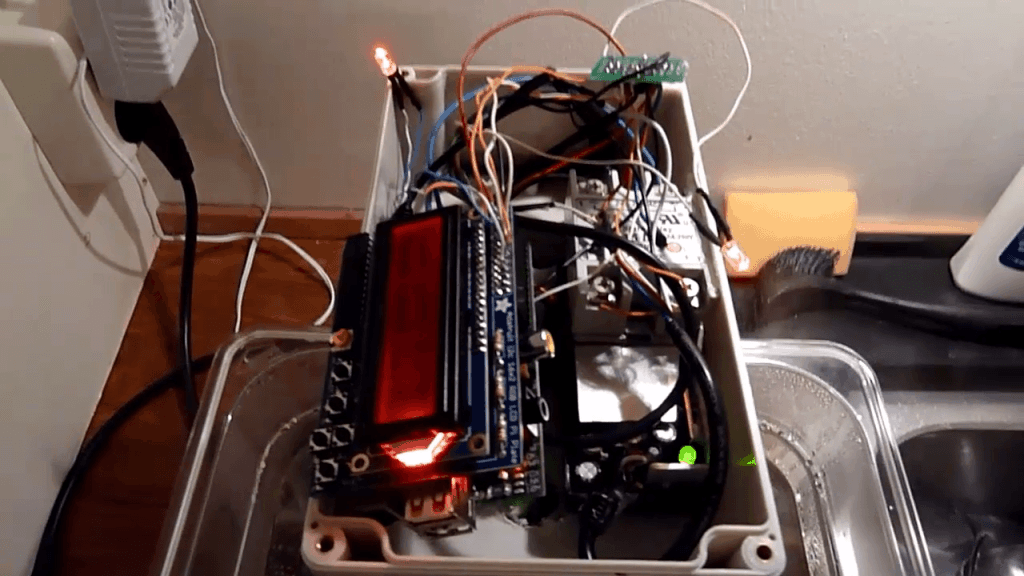
- Raspberry Pi
- Temperature sensor (with digital one-wire interface)
- 1500W Immersion heater (from eBay)
- Solid-state relay (For turning the heater ON and OFF)
- Display shield with buttons (From Adafruit)
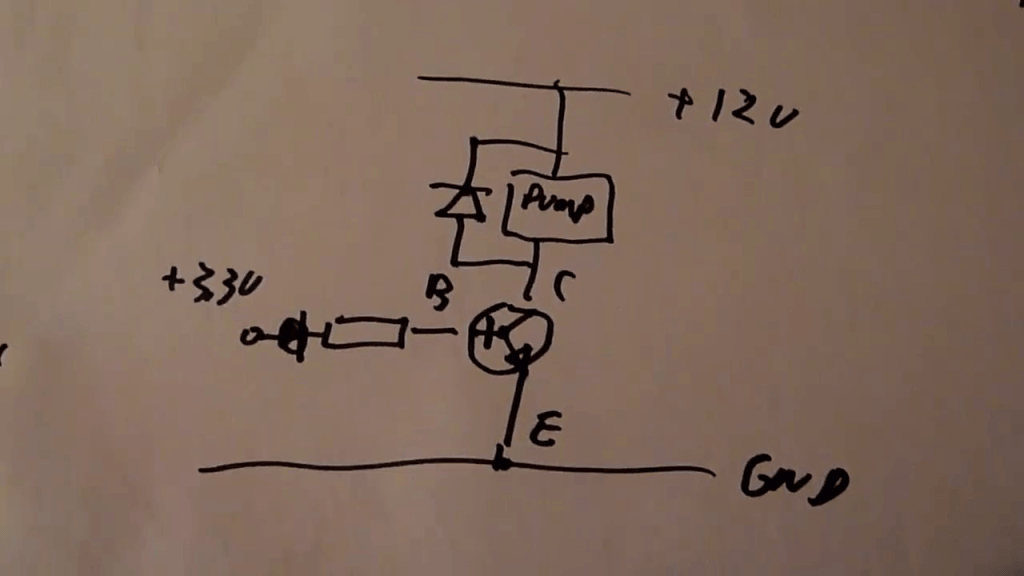
- Small transistor circuit for turning pump ON/OFF (See below for schematics)
- Water tank
The total cost of parts in this project was about $100,- Commercial models can often cost around $1000 and up, so that’s not bad ;)

10 Simple Steps to Learn Electronics
Electronics is easy when you know what to focus on and what to ignore. Learn what "the basics" really is and how to learn it fast.
But it’s absolutely possible to make it much cheaper too.
The most expensive parts were the Raspberry Pi and the water tank.
Schematics for the transistor circuit controlling the pump:
The Software
The software that runs on the Raspberry Pi is super simple. It’s Python code with a simple software PID regulator. It turns on and off the heater based on the temperature readings.
Markus, the maker of the DIY Sous Vide:

Return From DIY Sous Vide to Circuit Ideas
More Circuits & Projects Tutorials
Build Something Useful This Evening
This gadget lets you use any IR remote-control to control your lamp, garden lights, heater oven, garage door, or anything else.